A WiFi-enabled LED matrix clock for ESP8266 that displays time from multiple timezones. Features automatic NTP synchronization, DST handling, and a web-based configuration interface.

Multiple Timezone Support
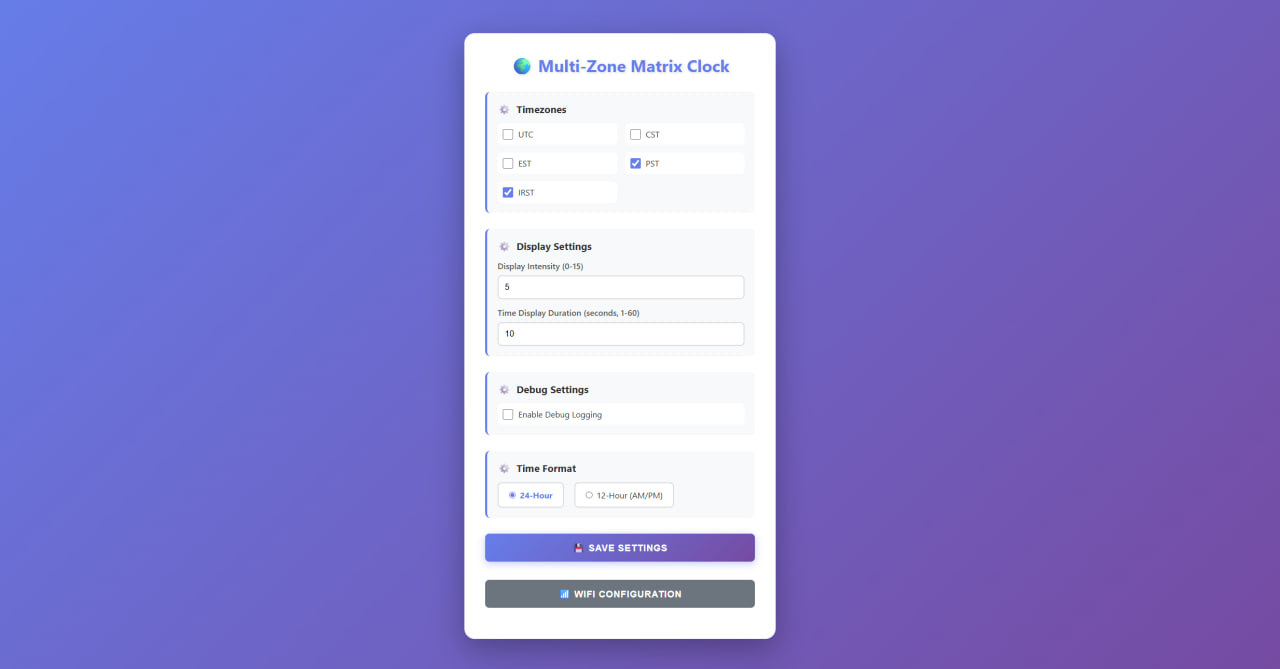
Display time from up to 6 different timezones (UTC, CST, EST, PST, IRST, and more)
Automatic Time Sync
NTP synchronization ensures accurate time without manual adjustment
DST Handling
Automatic Daylight Saving Time adjustments for US timezones
Web Configuration
Easy-to-use web interface for settings and WiFi configuration
WiFi Manager
Automatic WiFi configuration portal on first boot
Customizable Display
Adjustable brightness and 12/24-hour format options
Hardware Requirements
- ESP8266 (NodeMCU, Wemos D1 Mini, or similar)
- MAX7219 LED Matrix Display (4 modules, FC16 hardware type)
- Jumper wires for connections
- 5V power supply (USB or external adapter)
Pin Connections
| ESP8266 Pin | MAX7219 Pin | Description |
|---|---|---|
| D5 | CLK | Clock |
| D7 | DIN | Data In |
| D8 | CS | Chip Select |
| 5V | VCC | Power |
| GND | GND | Ground |
Note: The pin definitions can be modified in config.h if needed.
3D Printing
This project includes 3MF files for 3D printing the enclosure and mounting components.
All files are optimized for Bambu Lab A1 Mini and are located in the stl/ directory.
Available 3MF Files
FRONT.3mf- Front panel/enclosureFRONT Wemos D1 Mini.3mf- Front panel with Wemos D1 Mini mountingBACK.3mf- Back panel/enclosureFRAME FRONT.3mf- Front frame componentFRAME BACK.3mf- Back frame component2 x MATRIX HOLDER.3mf- Matrix display holder (print 2x)
Quick Start
1. Install Libraries
Install the following libraries via Arduino IDE Library Manager:
- ESP8266WiFi (included with ESP8266 board support)
- WiFiManager by tzapu
- MD_Parola by majicDesigns
- MD_MAX72XX by majicDesigns
- NTPClient by Fabrice Weinberg
2. Setup Arduino IDE
- Add ESP8266 board support URL:
http://arduino.esp8266.com/stable/package_esp8266com_index.json - Install ESP8266 board package from Boards Manager
- Select your board:
NodeMCU 1.0 (ESP-12E Module) - Set upload speed to
115200
3. Upload & Configure
- Upload the sketch to your ESP8266
- Connect to the
MultiZoneClockWiFi network - Configure your WiFi credentials
- Access the web interface at the device IP address